Elmer’s Glue Tie Dyed Shirts
- January 23, 2013
- no comments yet
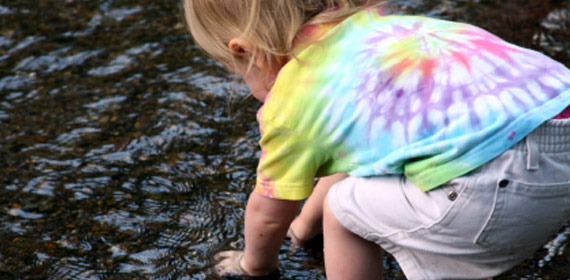
 I don’t know if you have noticed, but the trends of the past have a way of resurfacing again. We have so far been lucky that the 80s mall bangs have not found their way in style again. But the same cannot be said for slap bracelets and tie dyed shirts.
I heard someone talking about tie dying some shirts with their kids as a fun project, and I just knew, knew! I had to get in on that action! They were using glue to make designs and then dying the shirts. The glue acts as a barrier keeping the dye from penetrating wherever it is. Sweet!The first thing you need to acquire is a white shirt. I got one for each of my kids. Then they each picked out their dye colors. I have used both Tulip brand and Rit brand. Both work fine. Lastly, grab yourself a bottle of blue gel Elmer’s glue. The blue gel kind is important. I do not know why, but that blue gel is the one that works.
When you are ready to begin, get your shirts nice and wet. I made little boards out of foil to put inside of the shirts. This is so when you are using the glue, it doesn’t accidentally bleed onto the back of the shirt. I’m not sure if it is necessary, but better safe than sorry right?
Now that you are set, give your kids the glue. Allow them to write their names, simple pictures, quotes, designs, whatever works for them. Then allow for the glue to dry completely. We waited over night to be sure, but I think that four or five hours would probably be sufficient.
You are now ready to dye your shirts. I just followed the instructions on the bottles of dye. I figured they knew what was going on. And what do you know, these shirts came out fantastic.
This is a fun way to personalize shirts for a sporting team, organization, or club. I cannot deny that I have plans to make my kids matching ones for the next time we head to Disneyland.
Filed in: Kid's Corner, Parents
Leave a Reply
You must be logged in to post a comment.