Stained Glass Ornaments
- November 13, 2013
- no comments yet

Do you remember being a kid and making those stained glass ornaments that were really just melted beads? I absolutely adored them so much, and I begged my parents to buy them for me every year. And of course every year I was completely in awe of how cool I was. Little did I know that you don’t need to buy any special kit. You can make whatever you want, whenever you want! Think earrings, coasters, ornaments! I get excited just thinking about the various opportunities that await me and my oven.Of course, this is an excellent craft project for bigger kids. Mostly ones that you don’t fear spilling all of the beads across your floor.
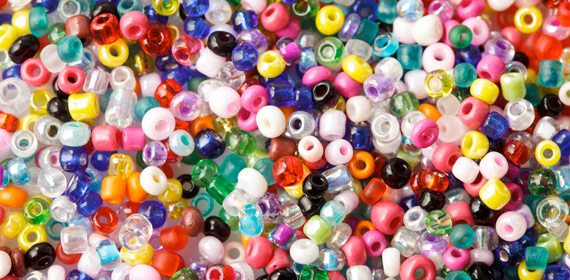
Your first task is to pick out what shape you want to make. For Christmas ornaments we used metal cookie cutters. You can use just about about anything that can withstand the temperatures of the oven. My husband even made a few basic shapes by folding and maneuvering foil. I can’t deny that it worked. But for me, I stuck with the cookie cutters. Most specifically we used the Christmas tree cutter.Next you need to choose your beads. Most any plastic bead will be sufficient. You can choose translucent, or opaque. I prefer the translucent because it is more reminiscent of stained glass. Choose bead colors that make sense for your project. For our trees we used mostly green, some brown, and a few multi colored for our “lights” on the tree.
Preheat your oven to 350 degrees.
Place some parchment paper on a cookie sheet. Then add your cookie cutter. Pour the beads inside of your mold. Use tweezers to rearrange any stray beads to your liking.
Finally place your cookie sheet into the oven for baking. The amount of time it takes will depend on your beads, and how thick of a layer you put down.
Check them every ten minutes or so.
When melted remove them from the oven. Wait just a few minutes then release them from their molds. They should release fairly easily. Be careful, they are still very hot. I wouldn’t recommend little ones doing this step. You can leave them on the parchment paper to cool and harden.
Once they are completely cool my husband used a small drill bit to create a hole for us to add ribbons. You could also simply use hot glue.
These look so beautiful hanging on our tree. Especially when the light hits them just right and they add that extra sparkle.
Filed in: Kid's Corner, Parents
Leave a Reply
You must be logged in to post a comment.